Turnstile & Gate Installation Checklist and Site Preparation Guide
To help you or your installer prepare for a smooth, efficient installation, here’s a reference checklist of commonly needed tools and supplies.
These items may not be included with your turnstile or gate, but they’re often required for installation.
Be sure to also check your model-specific documentation for:
The exact parts and tools included
Unique installation requirements
Need extra support? We offer:
Optional Installer Tool & Supply Kits
Remote or on-site Installation Support Packages
Full-service Design–Build Integration (turnkey)
Site Preparation Guide
Get your site ready for a smooth, successful turnstile or gate installation.
Before your unit arrives, please review the following guidelines and ensure your job site is properly prepared. These recommendations help ensure correct functionality, alignment, and safety — especially for automated equipment.
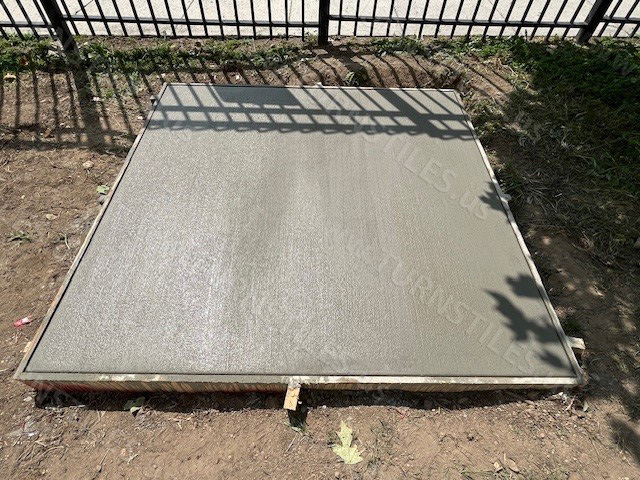
1. Concrete Pad Requirements
Install on a flat, level, fully cured concrete surface. This is critical for proper gate swinging and turnstile rotation.
Concrete should be 4–6″ thick and rated for 9000 psi.
We recommend pouring a pad at least 4” larger than the unit’s footprint on all sides.
Refer to your model’s technical diagram for exact pad and anchor layout.
2. Electrical & Conduit Planning
Provide 120V AC power to each unit location, coordinated with a licensed electrician.
Conduit can typically enter through multiple points in the turnstile or gate frame (including from beneath).
If fire alarm integration is required, the contractor’s fire alarm vendor should run cable from the main panel to the Subcontractor’s connection point.
An internet connection must be provided for any connected or remotely supported systems.
For access control or card readers, ensure conduit is run to the proper device locations prior to installation.
3. Physical Clearance & Access
Leave clearance around and above the equipment for installation, operation, and future maintenance:
Avoid obstacles behind swing gates or turnstiles.
Leave overhead space above turnstile header for panel access.
Maintain enough room to comfortably step around, if needed.
4. Unpacking & Site Cleanliness
Upon delivery, verify all parts using the checklist in your model’s manual.
Have a trash container or dumpster accessible for disposal of packing materials (pallets, crates, wraps).
Keep cleaning cloths on hand for final wipe-down of hardware post-install.
5. Heavy Equipment Access
Contractor must provide a forklift or pallet jack for offloading and moving the equipment to its final location.
If not available, rental costs will be passed through to the contractor.
6. Installer Access & Coordination
A minimum of two weeks’ notice is required to schedule installation.
Job site must be fully ready when installers arrive:
Concrete cured
Power and conduit in place
Physical access to site granted
Any site paperwork or permissions completed in advance
If additional vendors (e.g., electricians, network, fire alarm) are involved, please coordinate their availability during the scheduled installation window.
Installer Tools & Materials Checklist
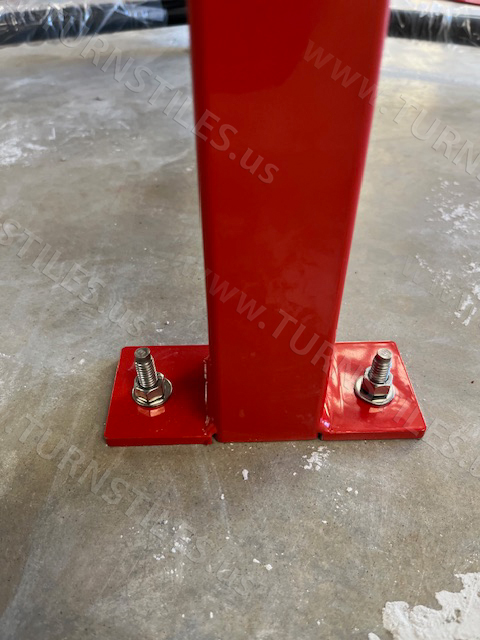
Anchoring Hardware (Included)
Most turnstiles and gates include required anchors and fasteners.
Wedge anchors: comparable to RedHead brand
Epoxy: included with models that require it (such as T80, P60, and RD70)
Additional Tools & Materials You May Need
These are not included by default, but may be required depending on your site conditions and scope of work.
Layout & Safety
Tape measure or laser level
Chalk/marker or pre-printed floor layout
Safety glasses / gloves
Drilling & Anchoring
Hammer drill (for concrete)
Carbide-tipped masonry drill bits → Match anchor size: 3/8″, 1/2″, or 5/8″
Compressed air or vacuum (for cleaning drilled holes)
Hammer (to set anchors)
Wrench or socket for tightening anchors → Common sizes: 9/16″, 3/4″, 15/16″ (based on anchor size)
Assembly & Adjustments
SAE hex key set → Used for covers, card readers, or internal adjustments
Small electronics screwdriver → For access control wiring (if installer is responsible)
Electrical tools (as needed)
Plumb bob (for precise leveling)
Optional: Installer Tool & Supply Kits
Need it all in one box? Ask us about our Installer Tool & Supply Kit, which includes:
A complete set of commonly required tools
Printed installation checklist
Professionally packed and ready to go
This kit helps you have a clean, professional install experience.
Still Planning Layout?
We’re happy to assist! Send us your layout or rough sketches and we can help determine the best equipment placement for flow, safety, and access control.